
Start your team store
For: Owner, Parents & families
Where: At the top of sportprinters.com, click Log in. Enter your Email and Password and click Sign In. You land on My Stores. Click + Create Store.
Anyone with a Sport Printers account can start a team store. Whoever creates the store becomes its Owner.

New to Sport Printers?
If you don't have an account yet, create one first. It takes you straight into the store setup:
- On sportprinters.com, click Start a free store. (On the Sign In page it says New here? Start a free store.)
- Under Create your account, fill in First Name, Last Name, Email, Password and Confirm Password. Then click Create Account.
- You see Check Your Email and One Last Step: "We sent a confirmation link to your email." If it doesn't arrive, click Resend Email.
- Open the email from Sport Printers (subject Confirm Your Signup) and click Confirm email.
- You're signed in and Start your store opens at Step 1 of 5. Continue with the steps below.
Before you start
Have these ready. Only the store name and the main color are required.
- The name your buyers know (for example, "Rancho High")
- Your main team color, and a second color if you have one
- Your logo, if you have it. You can also add it later.
Steps
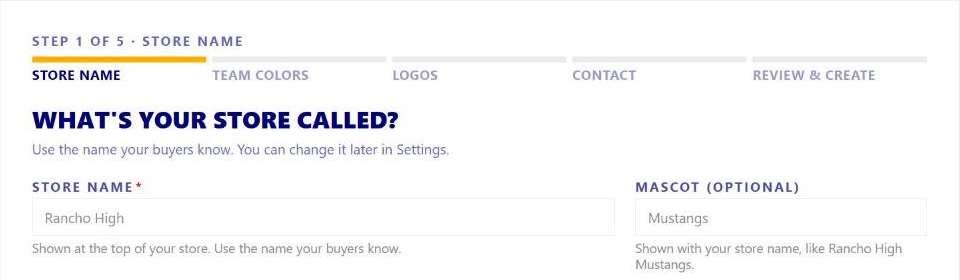
The Start your store page walks you through 5 steps. The bar at the top shows Step 1 of 5 and so on.
- Store name: under What's your store called?, type your Store name. You can add a Mascot (optional). It shows with your store name, like Rancho High Mustangs. Click Continue →.
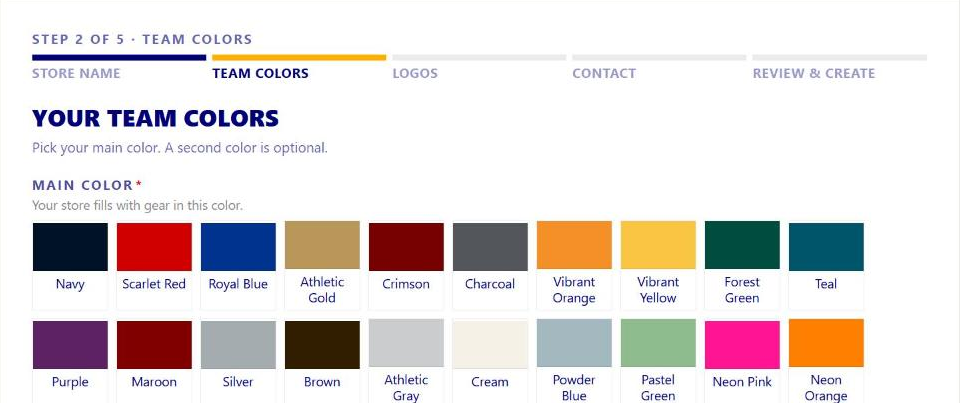
- Team colors: under Main color, click your main color. Under Second color (optional), click a second color if you have one.
- Don't see your color? Under each list, "Search the full supplier color library." Type it into Search colors… (for example "maroon" or "vegas gold").
- Under Also in your store you see neutral colors (White, Black, Heather Grey). Gear in these colors is included too. Tap one to leave it out.
- Click Continue →.
- Logos (optional): "Upload whichever versions you have, or continue and add them later in Art." There are two slots, Logo for light backgrounds and Logo for dark backgrounds. One is fine. Click Continue →.
- Contact: this is shown at the bottom of your store so parents can reach you. Contact name and Contact email are filled in for you. Add a Contact phone (optional) if you like. Click Continue →.
- Review & create: check everything. Click Edit on any row to change it. Then click Create my store.
What happens next
Your store opens in Store Admin on the Products page. Next to its name you see Draft. At the top is your Getting started checklist (see The Getting started checklist).
Your store has no products yet, and it is not open to shoppers. Nobody can buy until you publish it (see Open or close your store).
Your store's web address is shown on Storefront ↗ at the top of Store Admin, for example your-store.sportprinters.com.
You can change these later: the store name in Settings, your colors in the Style Editor (Store Colors), and your logos in Art.
To come back later: at the top of sportprinters.com click My stores, then Manage on your store.